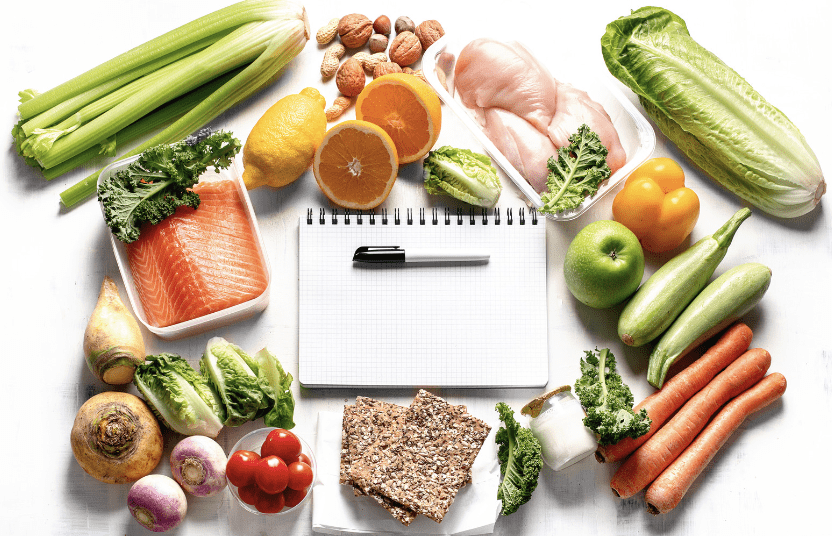
Are you following a ketogenic diet and looking for some inspiration for your grocery shopping? Look no further! We’ve put together a comprehensive keto grocery list that will help you plan your meals and stay on track with your low-carb eating.
The keto diet is all about limiting your carb intake and getting most of your calories from healthy fats. This way of eating can help improve your overall health and may even lead to weight loss. To make it easier for you to stick to the diet, we’ve organized our keto grocery list by category, so you can easily find what you need.
Here’s what you should include on your next shopping trip:
Produce
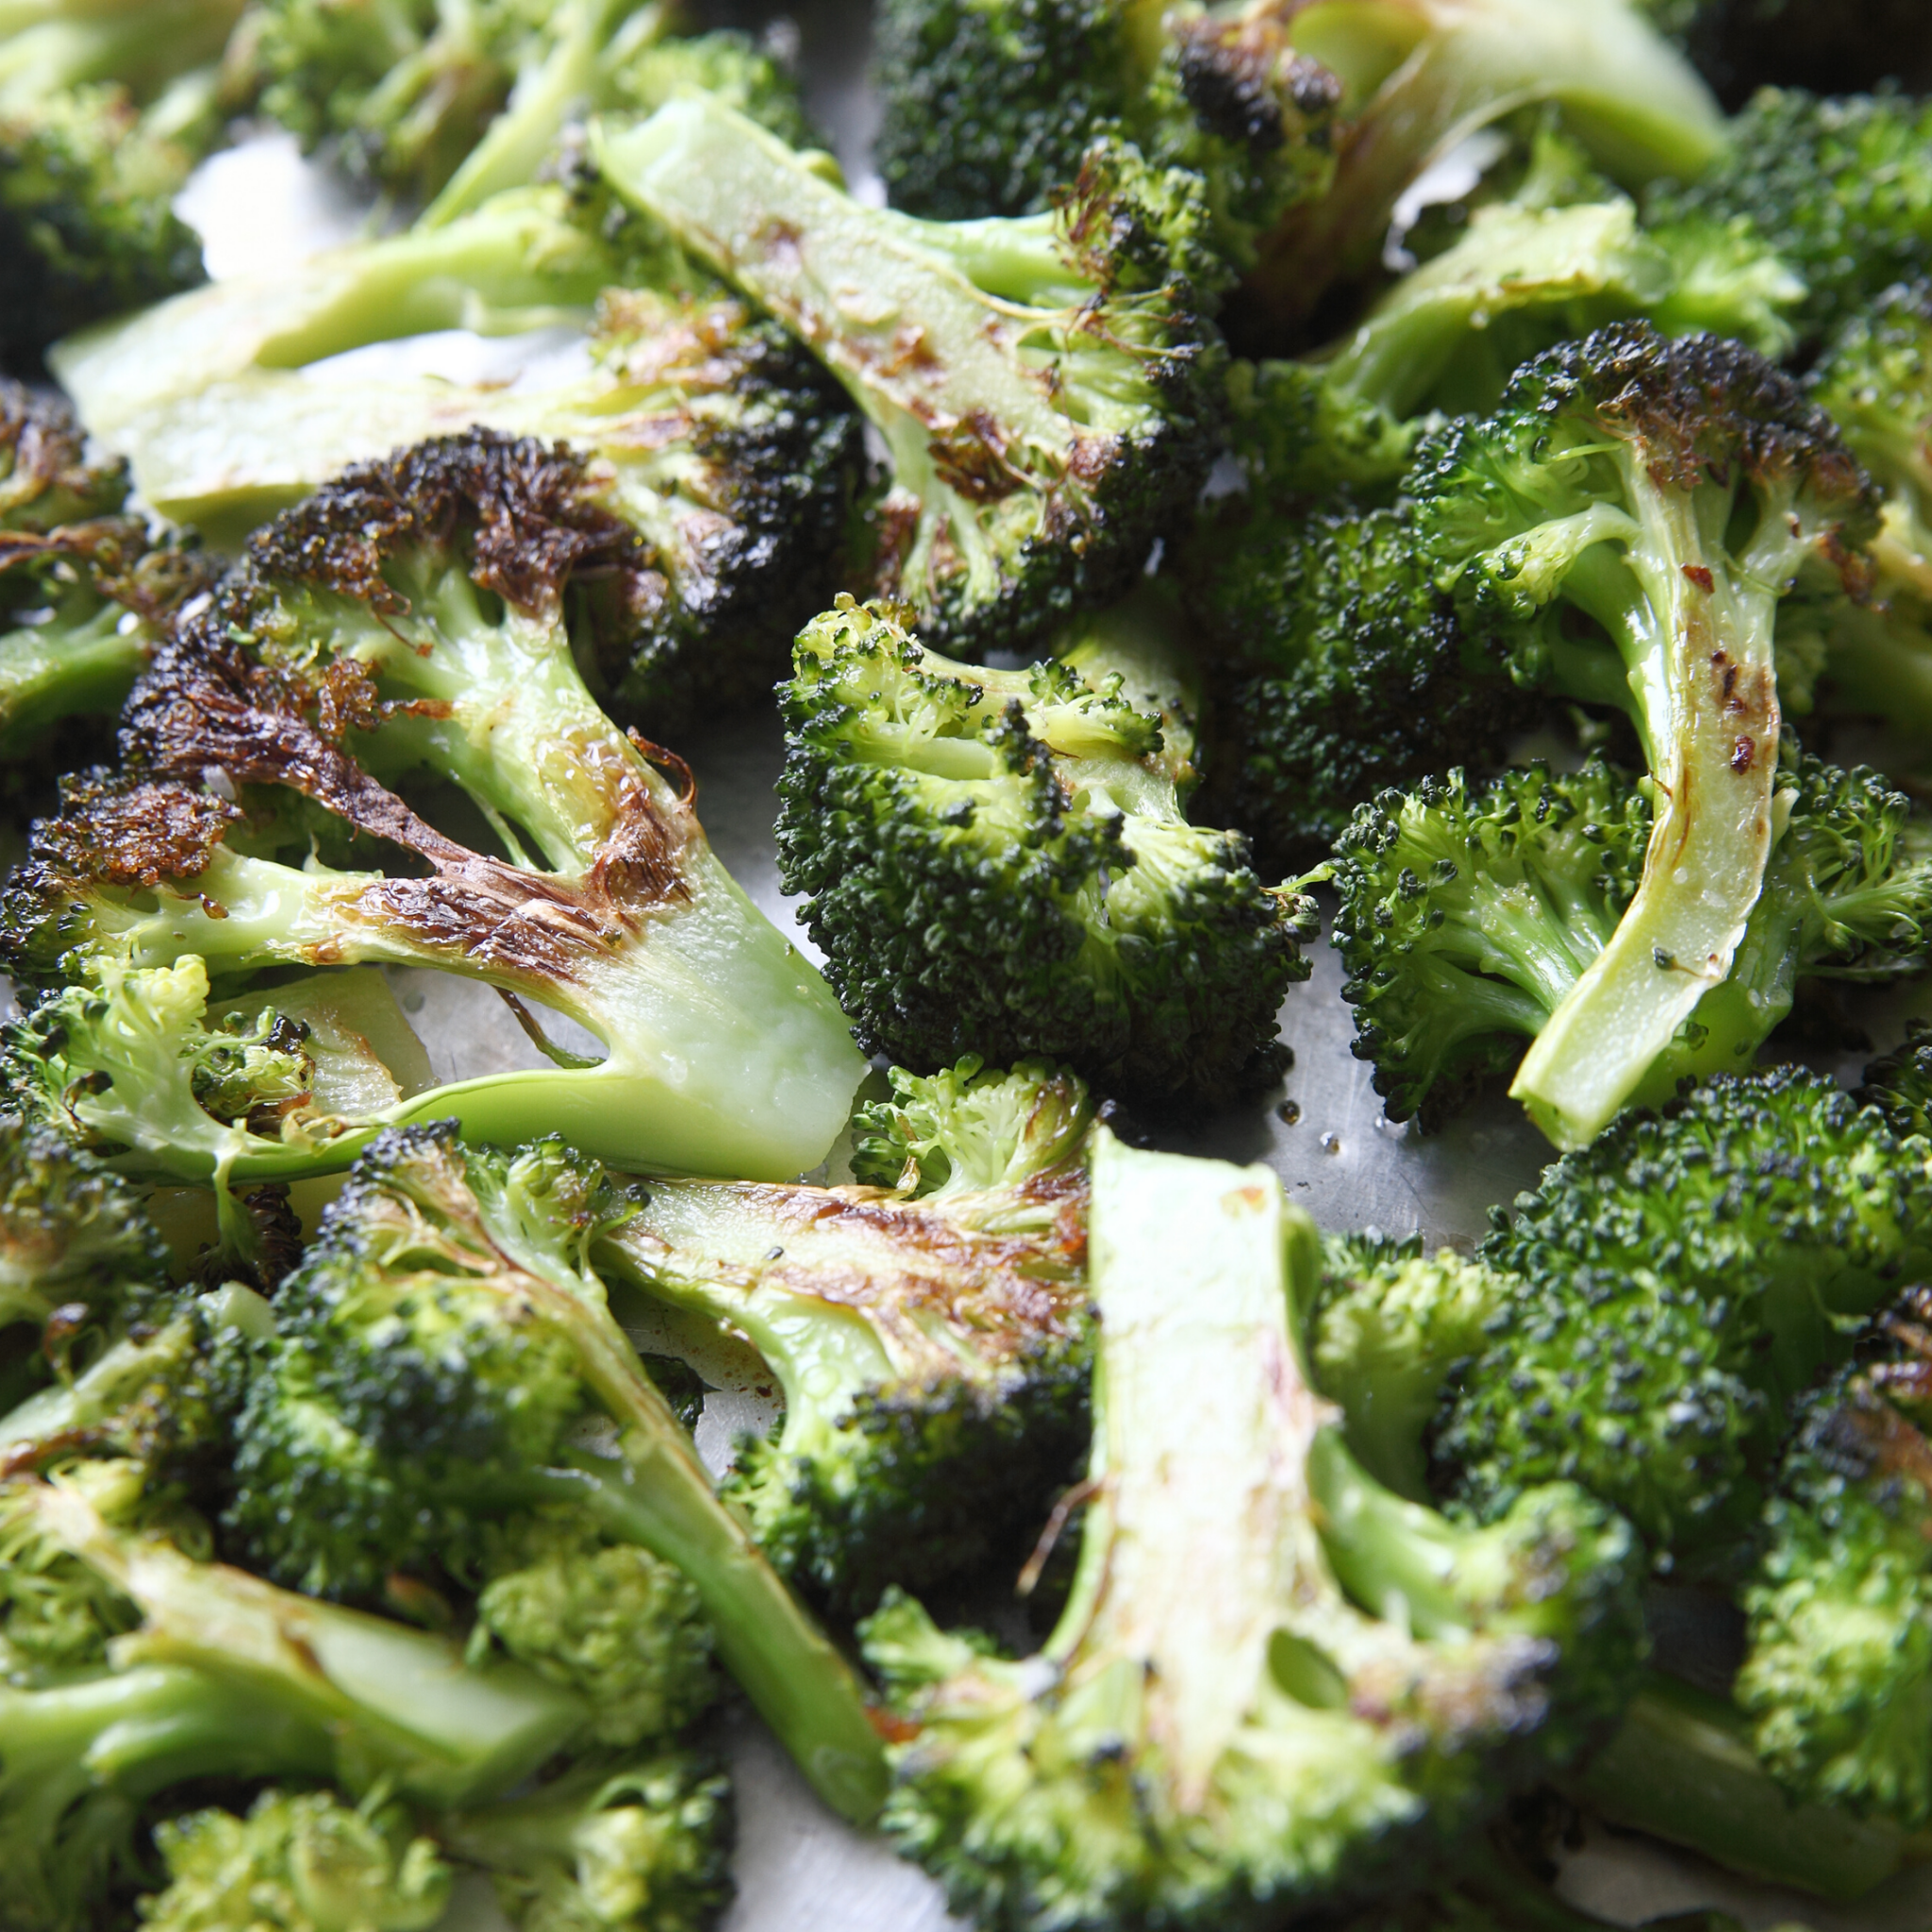
Broccoli
Spinach
Avocado
Cauliflower
Zucchini
Asparagus
Bell peppers
Cucumber
Mushrooms
Eggplant
Meat, poultry, and seafood
Beef
Chicken
Pork
Salmon
Tuna
Shrimp
Ground turkey
Sausages
Dairy
Eggs
Cheese
Heavy cream
Butter
Fats and oils
Olive oil
Coconut oil
Avocado oil
Ghee
Nuts and seeds
Almonds
Pecans
Macadamia nuts
Chia seeds
Flax seeds
Sunflower seeds
Other
Low-carb sweetener (e.g. stevia)
Coconut flour
Almond flour
Cacao powder
Baking powder
Spices and herbs
Dark chocolate (at least 70% cocoa)
Keep in mind that this is just a general guide, and you may want to adjust it based on your personal preferences and dietary needs. It’s also important to read the labels of the products you buy and make sure they are keto-friendly and have no added sugars or carbs.
With this keto grocery list, you’ll have everything you need to prepare delicious and satisfying meals that fit your low-carb lifestyle. Happy shopping!
If you are someone who needs a lot of structure to follow on a ketogenic diet or want new ideas to mix things up, this meal plan is a great way to stay on track and eat delicious foods.
Day 1:
Breakfast: Avocado and egg toast with spinach and tomato
Lunch: Grilled chicken salad with mixed greens, avocado, cherry tomatoes, and homemade vinaigrette dressing
Dinner: Baked salmon with roasted vegetables and cauliflower rice
Day 2:
Breakfast: Keto smoothie with avocado, spinach, almond milk, and protein powder
Lunch: Turkey and cheese roll-ups with mixed vegetables
Dinner: Slow cooker beef and broccoli with cauliflower rice
Day 3:
Breakfast: Scrambled eggs with sausage and bell peppers
Lunch: Chicken and vegetable stir fry with cauliflower rice
Dinner: Steak fajitas with peppers and onions, served with lettuce wraps
Day 4:
Breakfast: Overnight oats with chia seeds, almond milk, and protein powder
Lunch: Tuna salad with mixed greens and avocado
Dinner: Grilled shrimp with roasted zucchini and broccoli
Day 5:
Breakfast: Egg and cheese breakfast burrito with spinach and tomatoes
Lunch: Grilled chicken salad with mixed greens, avocado, cherry tomatoes, and homemade vinaigrette dressing
Dinner: Baked chicken with roasted vegetables and cauliflower rice
Day 6:
Breakfast: Greek yogurt with mixed berries and almonds
Lunch: Turkey and cheese roll-ups with mixed vegetables
Dinner: Grilled salmon with roasted vegetables and cauliflower rice
Day 7:
Breakfast: Avocado and egg toast with spinach and tomato
Lunch: Chicken and vegetable stir fry with cauliflower rice
Dinner: Slow cooker beef and broccoli with cauliflower rice
This meal plan provides a high amount of healthy fats and protein, while limiting carbohydrates to support a ketogenic diet. It’s important to also incorporate a variety of vegetables and other nutrients, such as fiber and antioxidants, into your diet to ensure that you are getting all the nutrients you need to stay healthy and energized. Remember to drink plenty of water and stay hydrated throughout the day as well.
Here is a grocery list with quantities to make the meals in the 7-day meal plan:
Avocado (2)
Egg (14)
Spinach (1 bag)
Tomato (2)
Grilled chicken (1 pound)
Mixed greens (1 bag)
Cherry tomatoes (1 pint)
Vinaigrette dressing (1 bottle)
Baked salmon (1 pound)
Roasted vegetables (1 pound)
Cauliflower rice (1 bag)
Keto smoothie ingredients (1 avocado, 1 bag spinach, 1 quart almond milk, 1 tub protein powder)
Turkey (1 pound)
Cheese (1 block)
Mixed vegetables (1 pound)
Slow cooker beef (1 pound)
Broccoli (1 bunch)
Overnight oats ingredients (1 jar chia seeds, 1 quart almond milk, 1 tub protein powder)
Tuna (2 cans)
Grilled shrimp (1 pound)
Zucchini (2)
Greek yogurt (1 quart)
Mixed berries (1 pint)
Almonds (1 bag)
Steak (1 pound)
Peppers (2)
Onions (2)
Lettuce wraps (1 package)
This grocery list includes all the ingredients needed to make the meals in the 7-day meal plan. Some items, such as salt, pepper, and olive oil, are not included on the list as they are assumed to be pantry staples. You may also need to adjust the quantities of certain items based on your specific needs and preferences.
We only share products/services that we love. This post contains affiliate links, which means we may receive a commission for purchases made through our links.
Tried this recipe?Please leave a review below and tag us @TheKetodashians on IG!
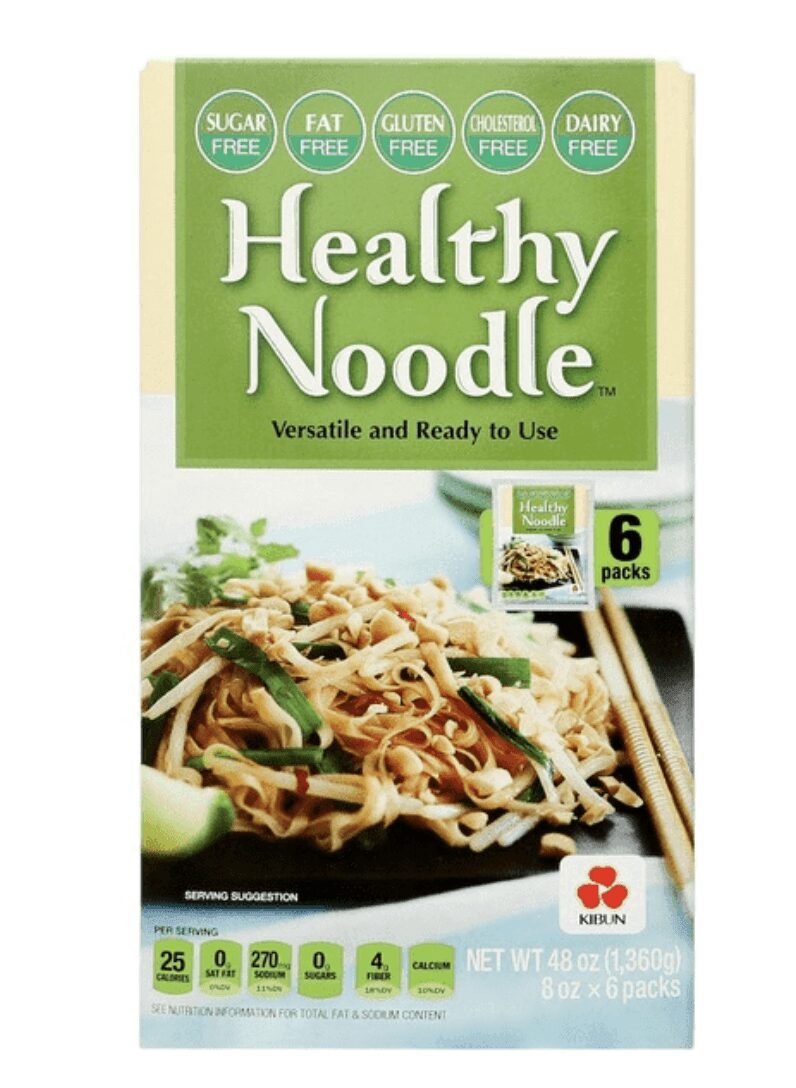
Every time we EVER post anything about the infamous Healthy Noodle from Costco, without fail, we receive hundreds of questions, comments, and general messages in our box related to this product.
Here’s the scoop:
What are they? These are gluten free, low carb, fat free, sugar free, cholesterol free and dairy free flat noodles. The brand is called Healthy Noodle, literally. They are 5g total carbs with 4 g fiber, leaving 1g net.
What do they taste like? They are neutral in taste and do not have an odor – unlike shirataki noodles. They are however, in a package stored in a clear liquid to preserve its texture and taste.
Are these like Shirataki? No! They do not have the same smell, taste, or texture. They are stored in a liquid though and are ready to eat hot or cold.
What are they made of? Water, soybean fiber powder, cellulose, sodium alginate, yam konjac powder, calcium chloride, and salt.
What is the texture like? It is similar to a flat rice noodle (pho) – however it doesn’t have the same chew (so keep that in mind).
How do you cook it? You don’t have to! It’s ready to eat so you throw it in whatever dish you want to use it for. We actually DO NOT RECOMMEND cooking it for more than a minute in heat because it will break apart. When we eat the noods, it’s almost ALWAYS in soups. We heat up the broth and then throw the noodles in there right before we eat. You can definitely give them a quick rinse before you eat them (we use warm water).
Where can you get these? THE QUESTION OF THE HOUR – these can be purchase at Costco. The costco item number is 1027760 so call your local store and ask an associate if they carry that product number. They are between $13-15 for a case at Costco depending on your region.
If you do not want to call your local store, go to the facebook account where they often post updates on where they sell their Healthy Noodles.
What recipes do you have with these noodles? None! We do not recommend cooking these in heat or they will break apart. Use them like you would noodles and pour a sauce, dressing, or whatever you want on top. They are the best experience that way. People like to eat them with pasta sauce, in soups, salads, all up to you. We would consider this a dupe for flat rice noodles so take that information and get creative!
What’s a good hack? Rinse these out, store them in a zip lock back, and bring them to your favorite Pho or Hot Pot restaurant!
If you’re looking for inspo, here are some delicious ones:
This glaze (or reduction) is perfect drizzled over some mozzarella, grape tomatoes, and basil (hello caprese). Make it even more fun by making a salad on a stick using skewers. Balsamic glaze is also great drizzled over bruschetta, grilled veggies, margarita pizzas, and essentially any summer time fare like berries, goat cheese, crudite, etc!
Sugar Free Balsamic Glaze
This two ingredient recipe is super easy to make and pairs well with many fruits, cheese, and veggies. The consistently should be like a warmed honey.
Heat the balsamic vinegar in a saucepan over medium heat until it starts to gently bubble (about 10 mins).
Reduce the heat to medium-low and stir continuously while the balsamic vinegar reduces (about another 10-15 minutes).
Pour the sugar free maple syrup into the reduced balsamic and stir for a few minutes until the reduction and maple syrup are thoroughly mixed. Add more maple syrup to taste.
Let it cool down completely before serving and/or storing.
We only share products/services that we love. This post contains affiliate links, which means we may receive a commission for purchases made through our links.
Tried this recipe?Please leave a review below and tag us @TheKetodashians on IG!
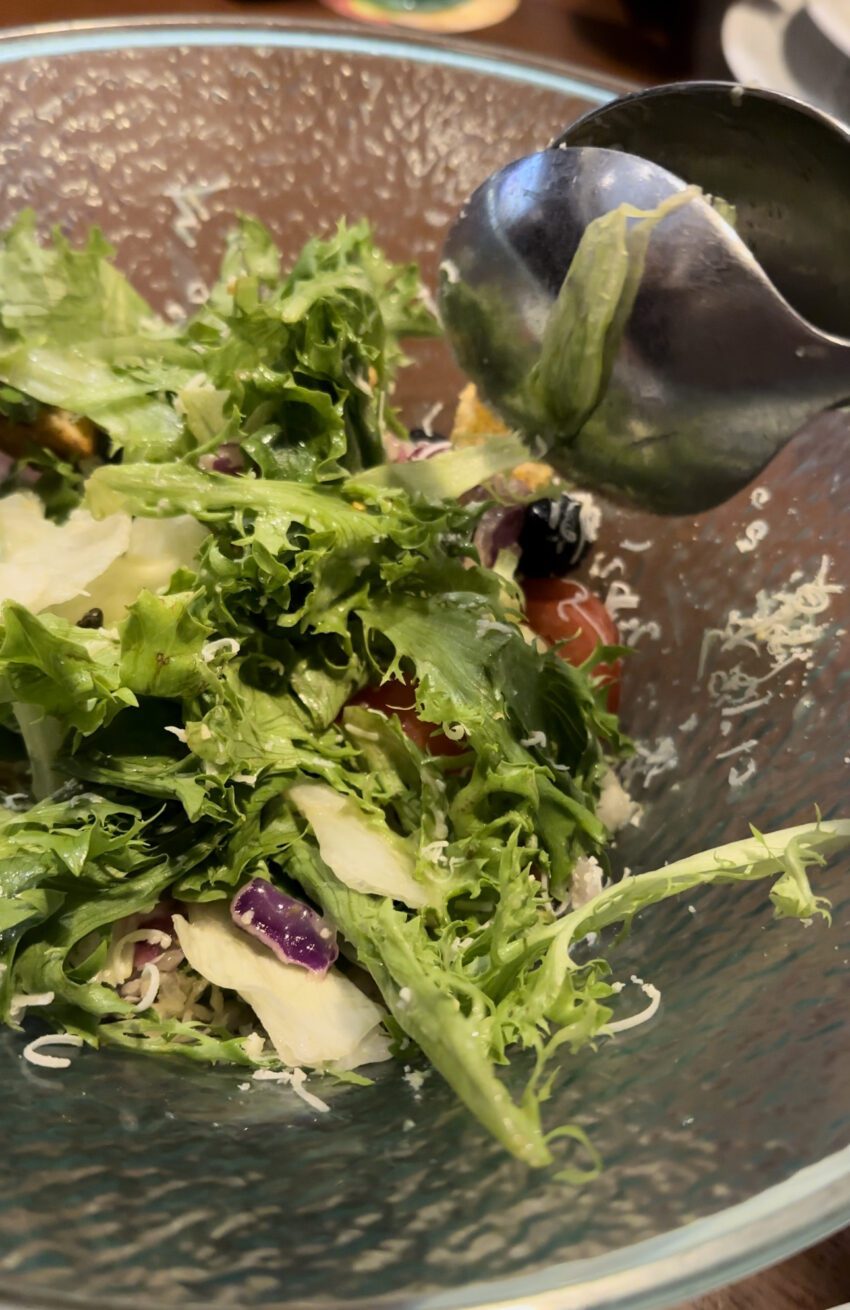
I went to the Olive Garden today and was served this unlimited house salad with field greens instead of iceberg lettuce. I liked the taste of it but the texture threw me off because I was expecting the classic American mix. I am hoping this swap was temporary because there was a shortage at the restaurant because you can’t mess with a classic! Update: after some research – due to crop disease, 2020 aftermath, and supply and demand levels – it looks like there is a iceberg lettuce and romaine lettuce shortage. This is causing a huge price increase for stores/restaurants but is not affecting field greens – hence, new Olive Garden house salad for now!
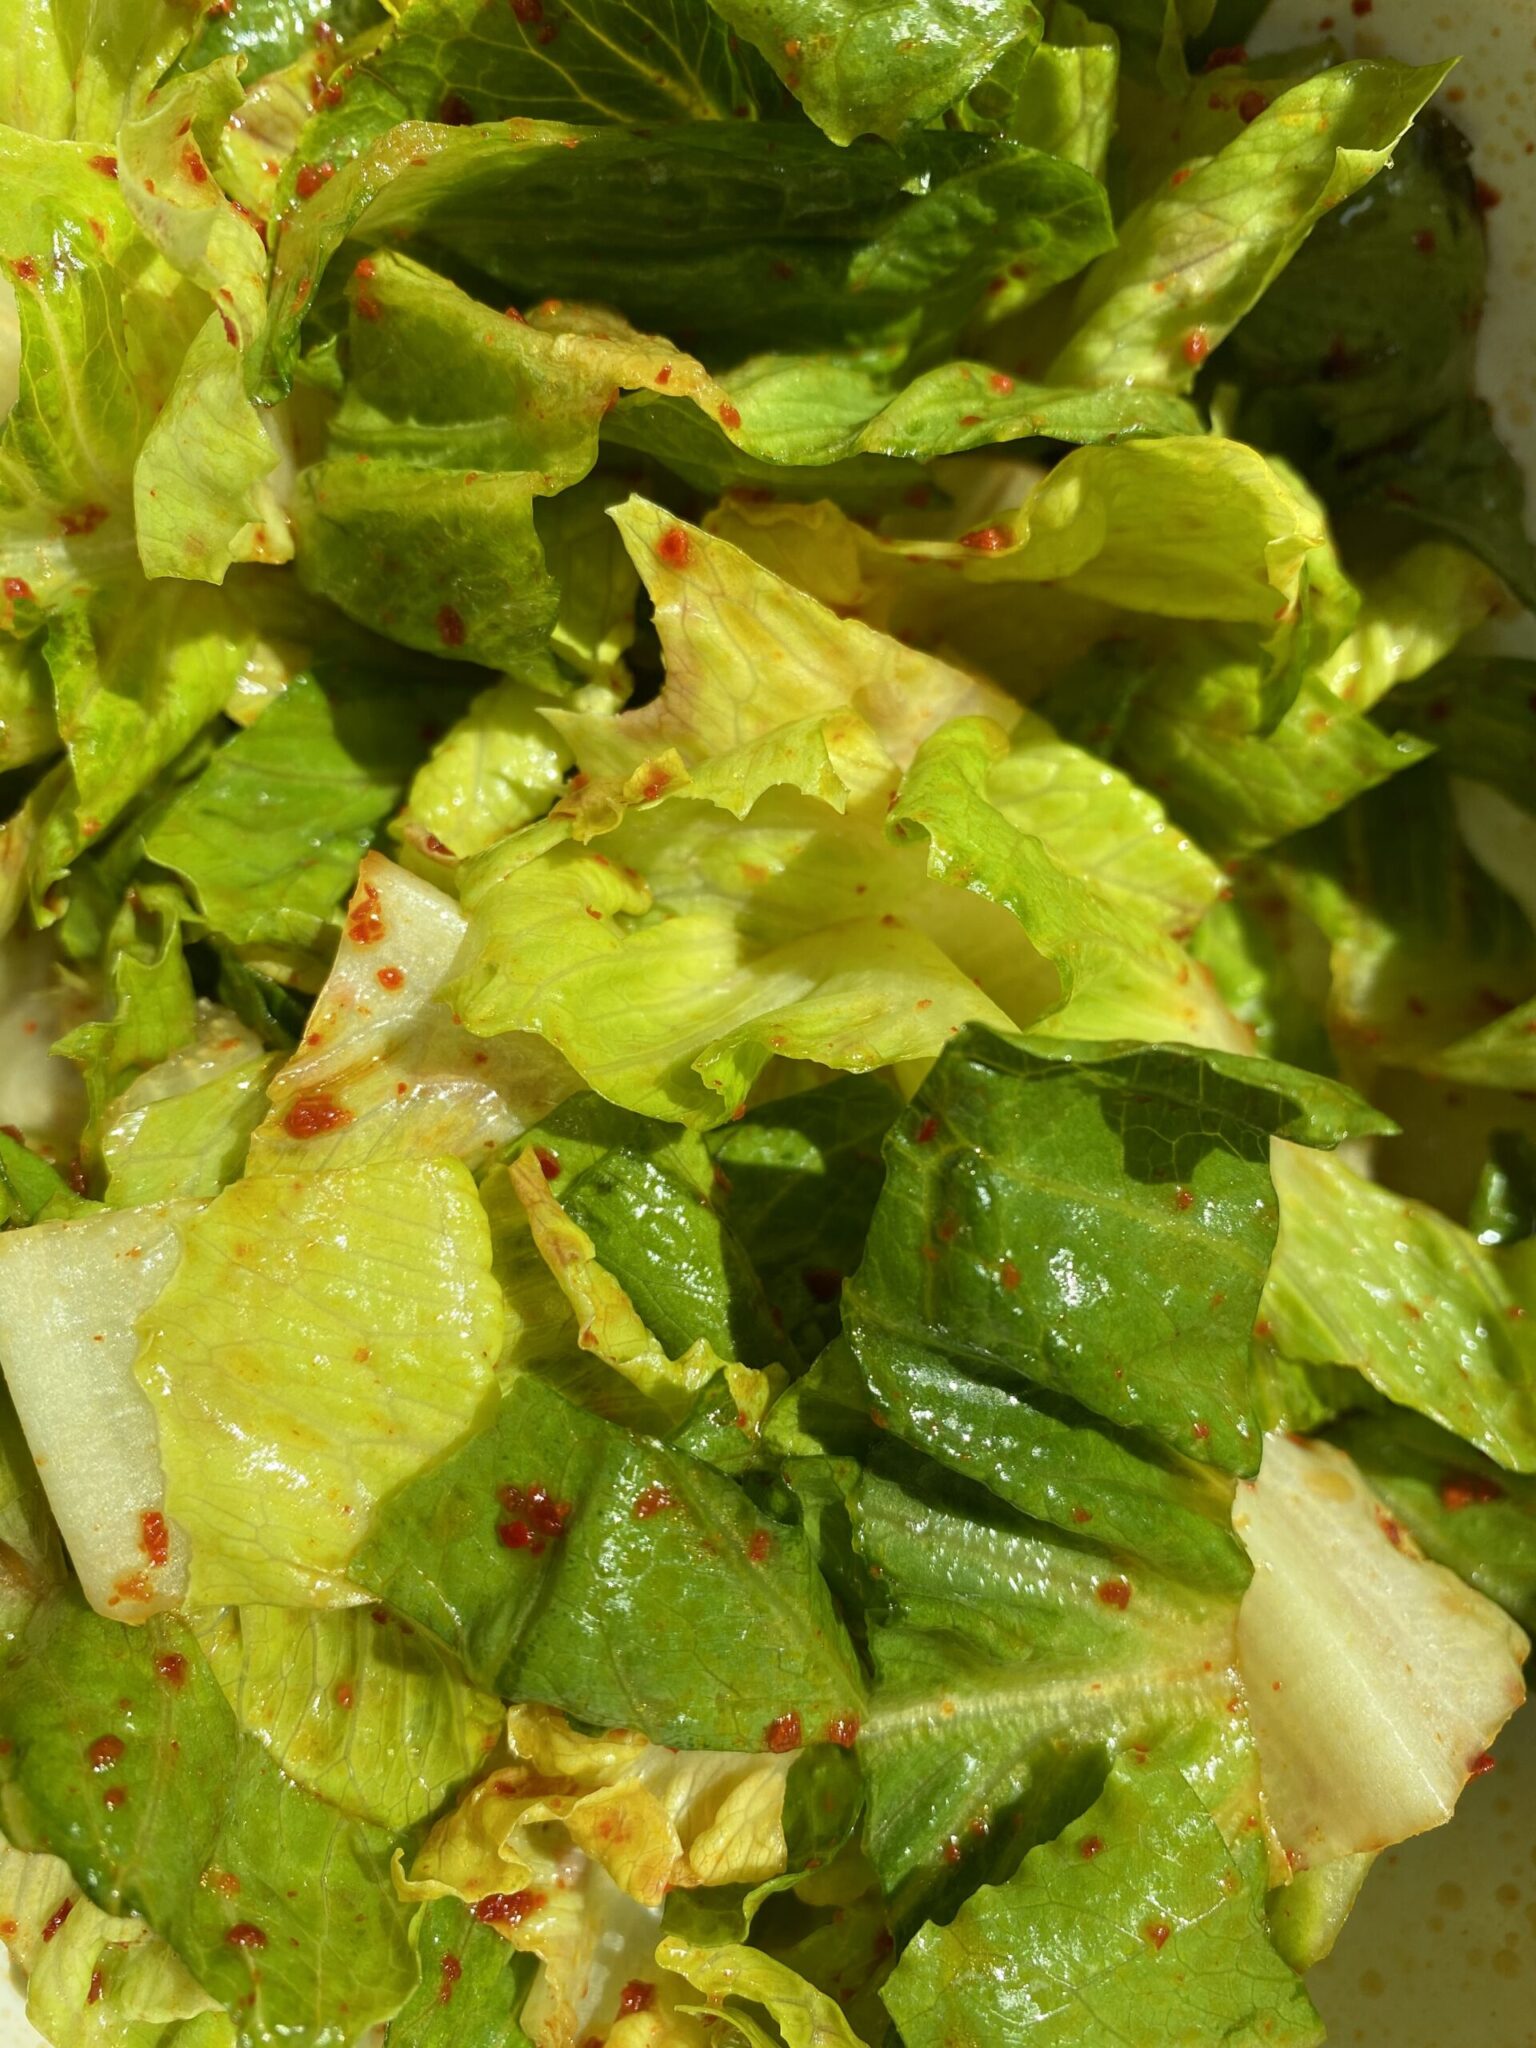
One of our favorite keto eating activities is going to KBBQ restaurants and stuffing our faces with loads of unmarinated meats and going ham on Korean KBBQ sides. This salad is inspired by the salads served at many kbbq restaurants. Make it your own by adding your favorite greens or veggies.
We only share products/services that we love. This post contains affiliate links, which means we may receive a commission for purchases made through our links.
Tried this recipe?Please leave a review below and tag us @TheKetodashians on IG!
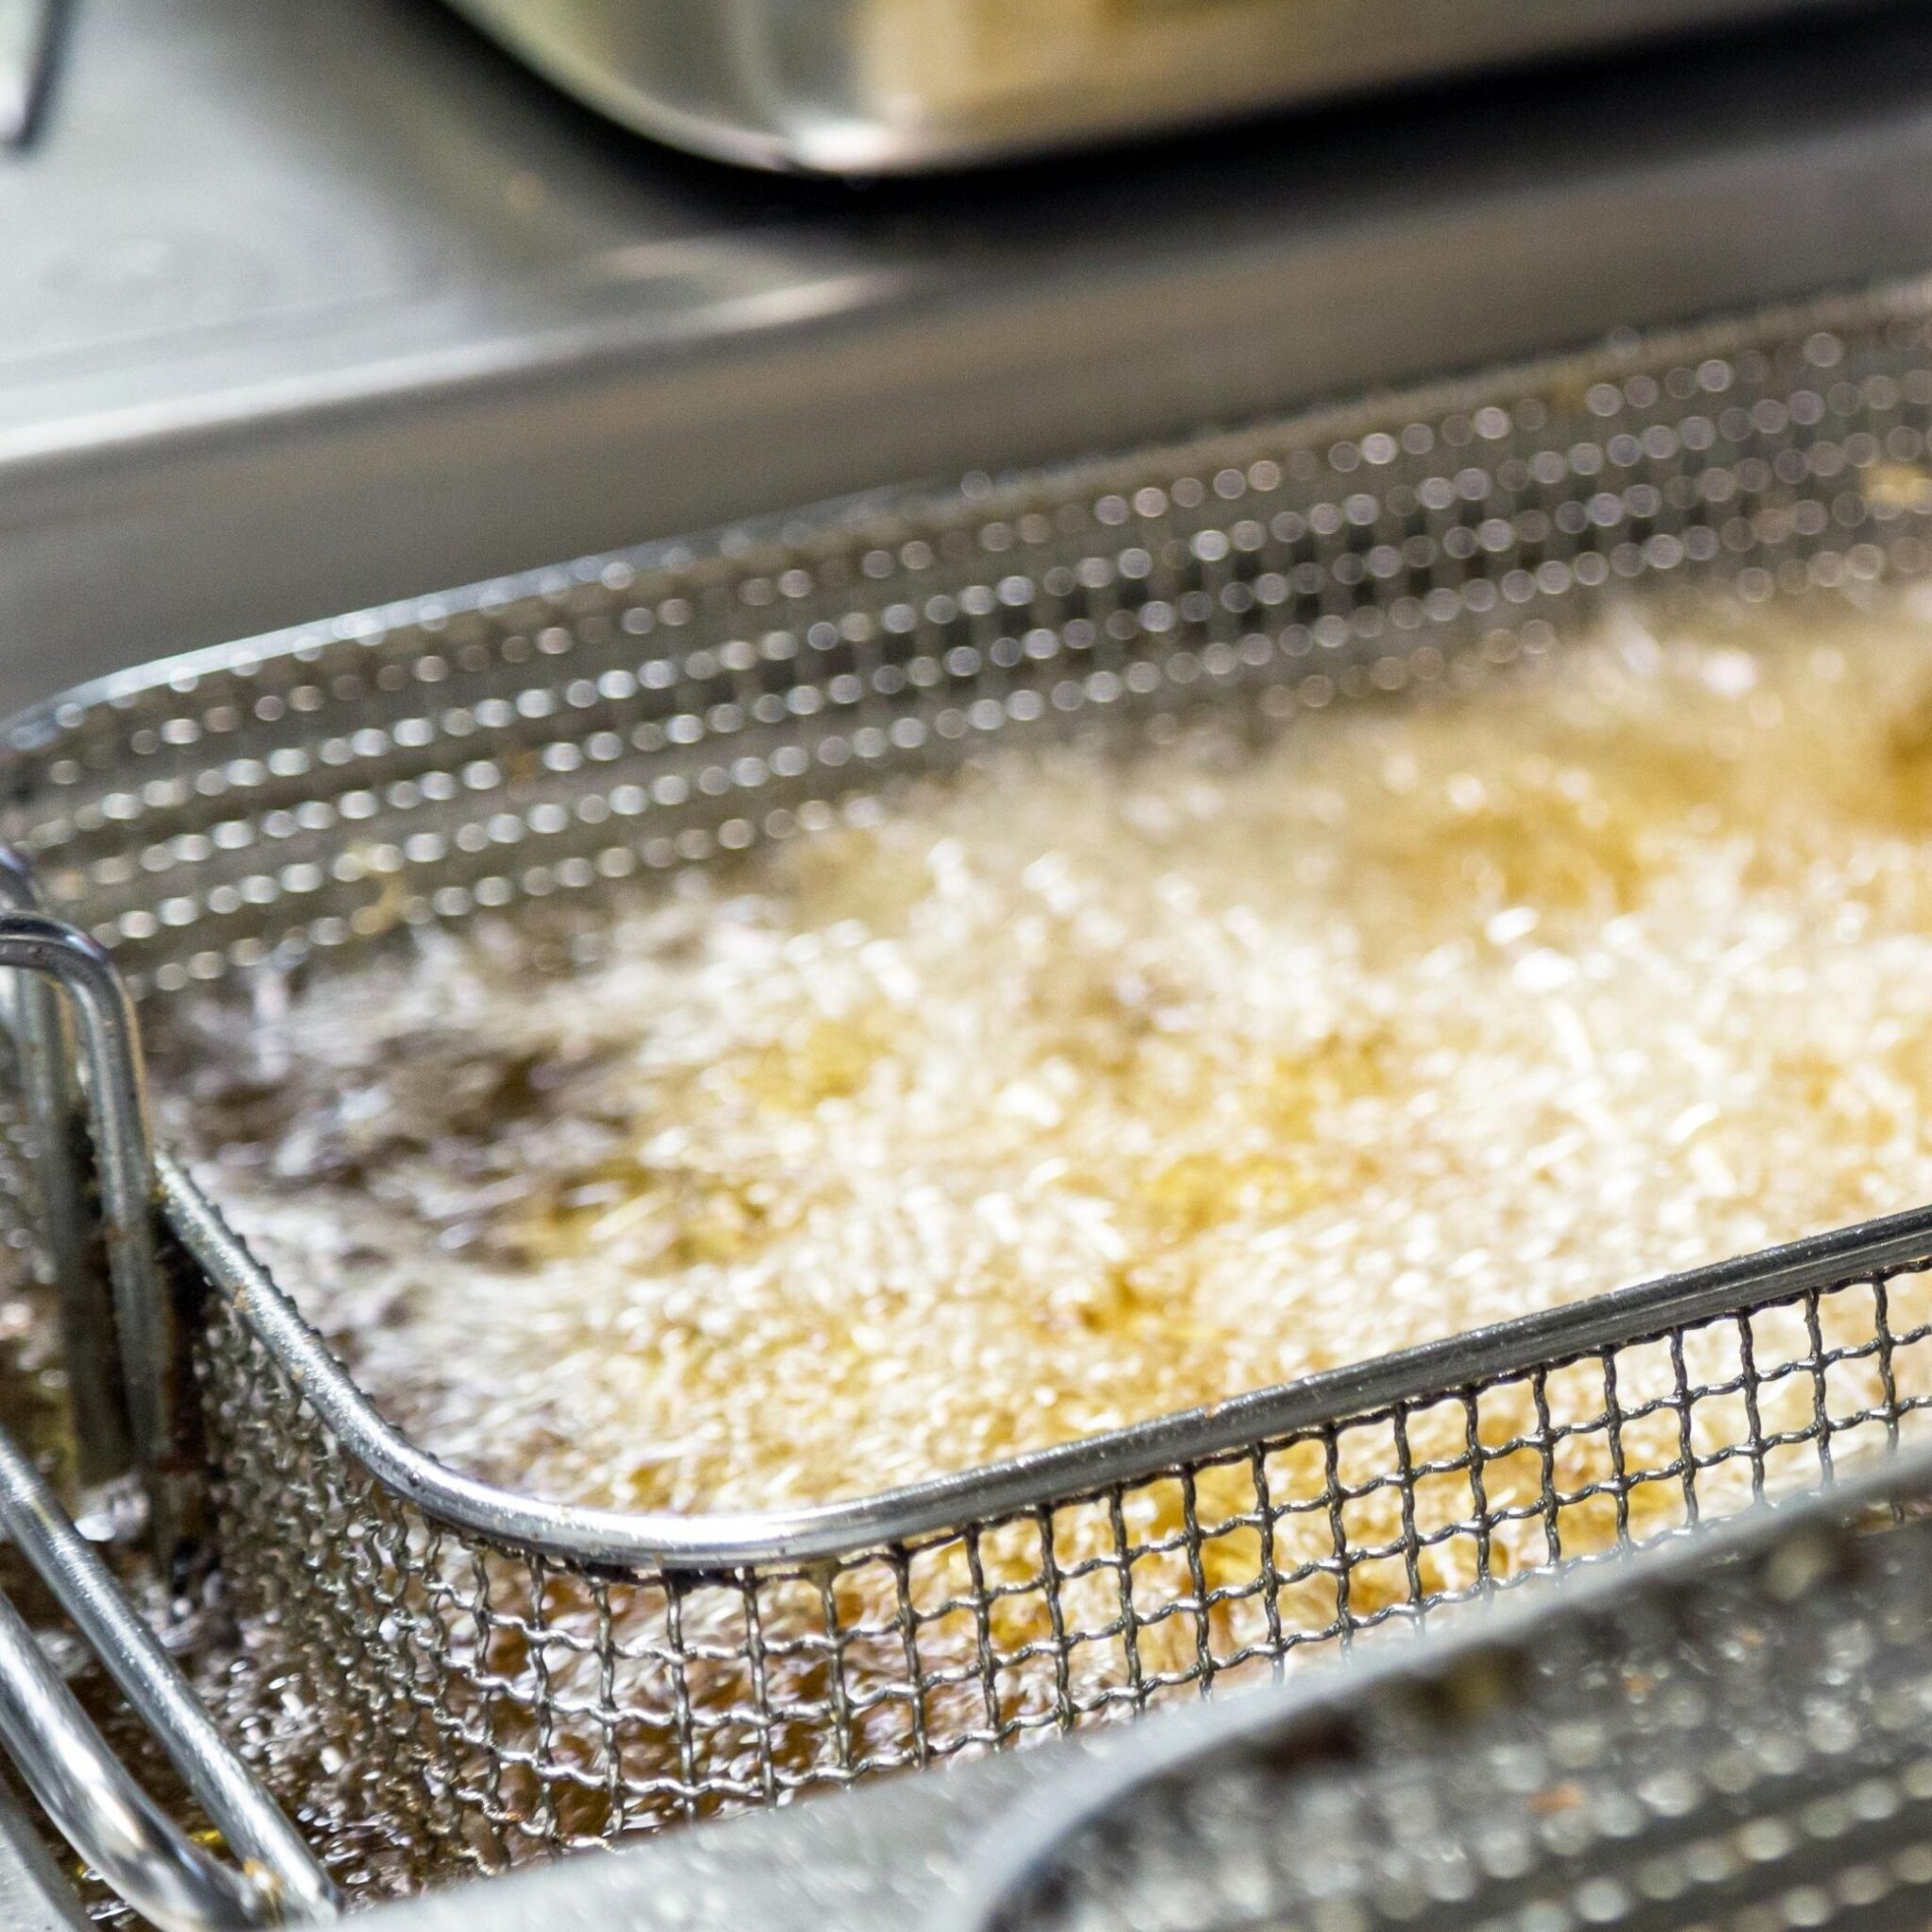
Well let me answer that question – something we get almost 20 times daily any time we feature a video of us frying food on our Instagram account.
Short answer: we save it and continue using it until it is too dark or gets cloudy.
Here’s the scoop…
Our families have always deep fried foods since before we can even remember. Back in the day, there would be a designated “frying pot” where the oil would sit until someone needed to fry something – nowadays, in our own homes, here is what we do:
Let the oil cool completely.
Place a mesh strainer at the mouth of a large jar and pour the oil in there. You want the big bits to get caught so it doesn’t end up floating around in the jar. The reason you want to strain the oil is so when you reuse the oil, it doesn’t make the oil darker than it needs to be. It also helps keep the oil tasting fresher (in our opinion).
Close the jar and store at room temperature.
We reuse the oil until it becomes a brown color but that is completely up to you. The darker the oil, the darker your food will look after you fry it, so just adjust the amount of times you reuse based on the color and preference you have.
Now some additional questions we know y’all are going to have:
What kind of oil do you use? We like to use avocado oil because it is clean and has a high smoke point. Use what oil you can afford and are comfortable cooking with. Canola oil, peanut oil, and soybean oil are all oils we have fried with – they are just very processed.
How many times do you re-use oil? Depending on what we fry, it’s 5-6 times. If we fry fish, the oil is dunzo because the smell and taste will not go away.
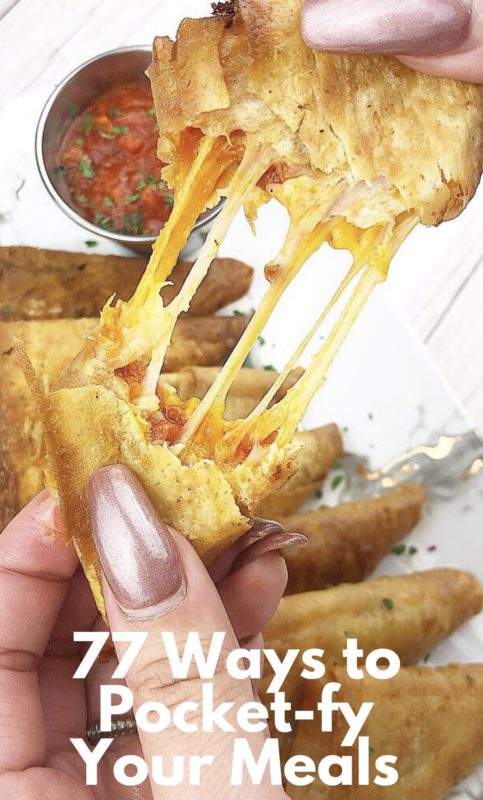
Okay, here’s the dealio…we are obsessed with pockets. What is a pocket? It is a meal stuffed into a triangular pocket of deliciousness using flatbread strips and your filling of choice. We exclusively use our holy grail flatbread, Cutdacarb, because it’s easy to work with, takes on whatever flavor you season it with, and it fries up fast as hell. We rely on pocket-fying foods because it is a is a low carb hack to control your carb intake but also still get the satisfaction of eating your favorite foods.
The idea for pocket-fying things is based on our love of Hot Pockets (cue theme song) and the technique of folding a paper football or Greek Spanikopita (shout out to my grade school friend’s Yia Yia for showing us how to do this when we were 8 years old). The technique to fold is the same for all of these. See diagram below:
The pocket-fy process involves picking your filling of choice, adding it at the bottom of the flatbread strip, and using the folding technique shown above.
We deep fry 90% of our pockets in avocado oil. The rest are either pan fried in butter or baked in our toaster oven after being sprayed with avocado oil. Our Keto baes have used their air fryers as well.
Here is a bomb ass list of things you can pocket-fy to give you some meal inspo (we added links to the recipes we’ve posted and also suggestions for ones that may not be as obvious):
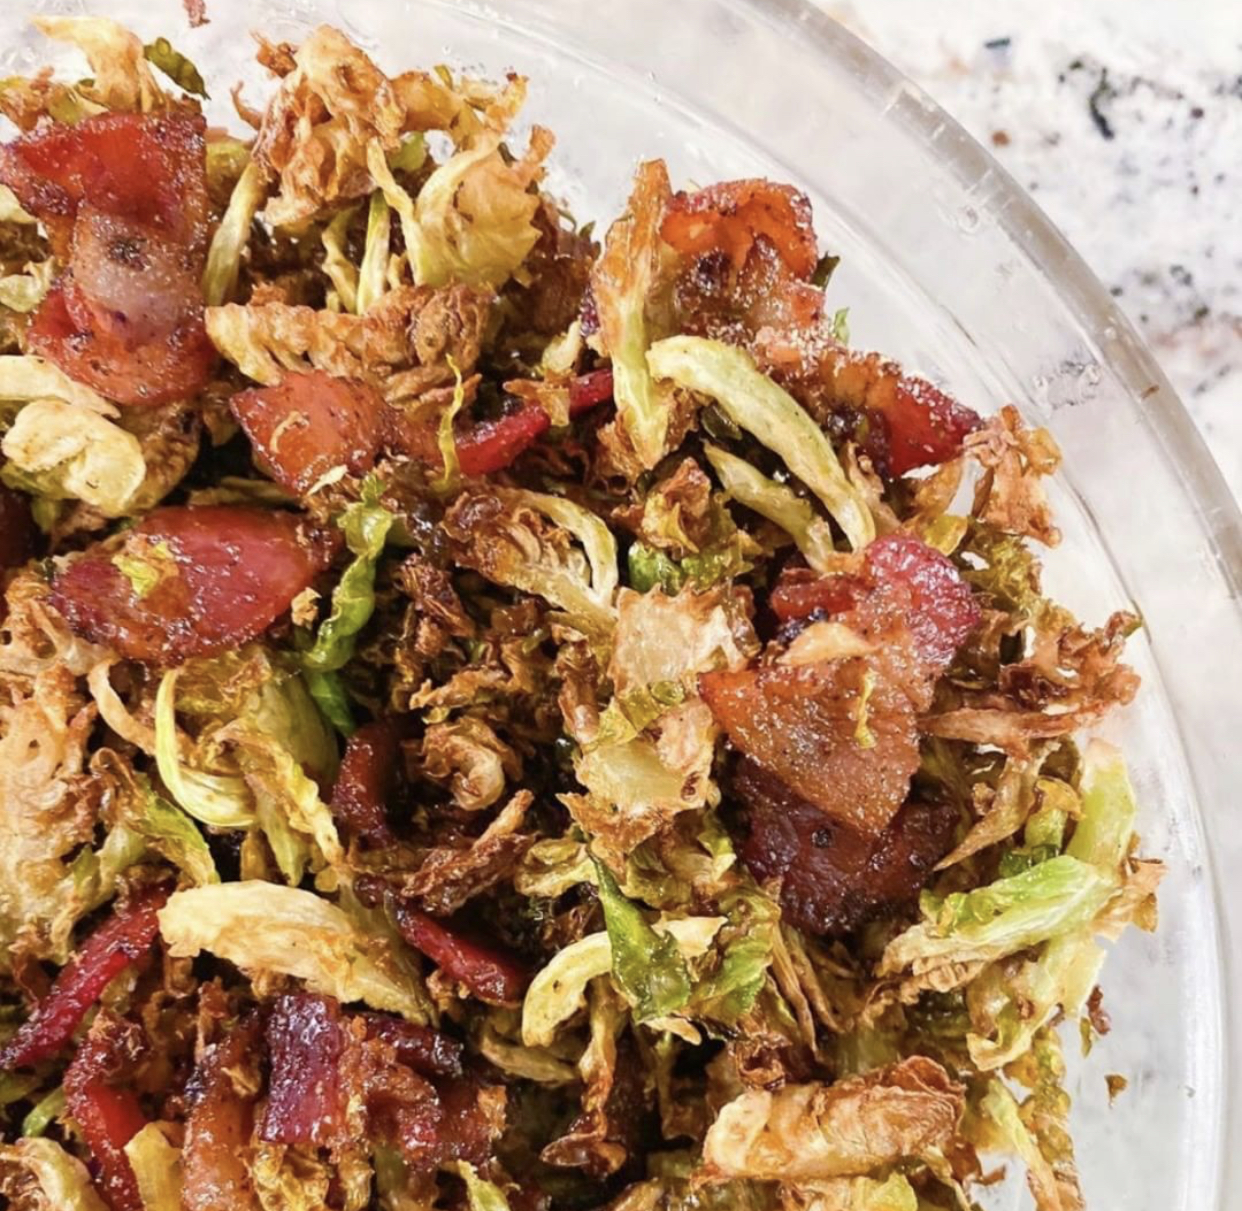
This one is for people who HATE brussels cause you’re going to love them after eating these. Already love brussels? This is an excuse to eat them even more.
Heat the oil in a deep frying pan on medium high heat.
Add 2 cups of shredded brussels into the hot oil. The oil will intensely boil from the moisture so be careful!
Let the brussels crisp up for 4-5 minutes while you stir them around to evenly cook them. Once they are a light golden color, use a skimmer to remove them from the oil and let them drain onto a paper towel lined plate. Repeat with the remaining 2 cups of shredded brussels.
Carefully pour the hot oil into a heat safe container and add the bacon to the hot pan. Sprinkle about a tsp of #garlicgoals or garlic powder/salt/pepper over the bacon and then add the fried brussels. Give everything a good stir.
Lightly pour about 1-2 tablespoons of sugar free maple syrup over the brussels and give them another stir.
We only share products/services that we love. This post contains affiliate links, which means we may receive a commission for purchases made through our links.
Tried this recipe?Please leave a review below and tag us @TheKetodashians on IG!