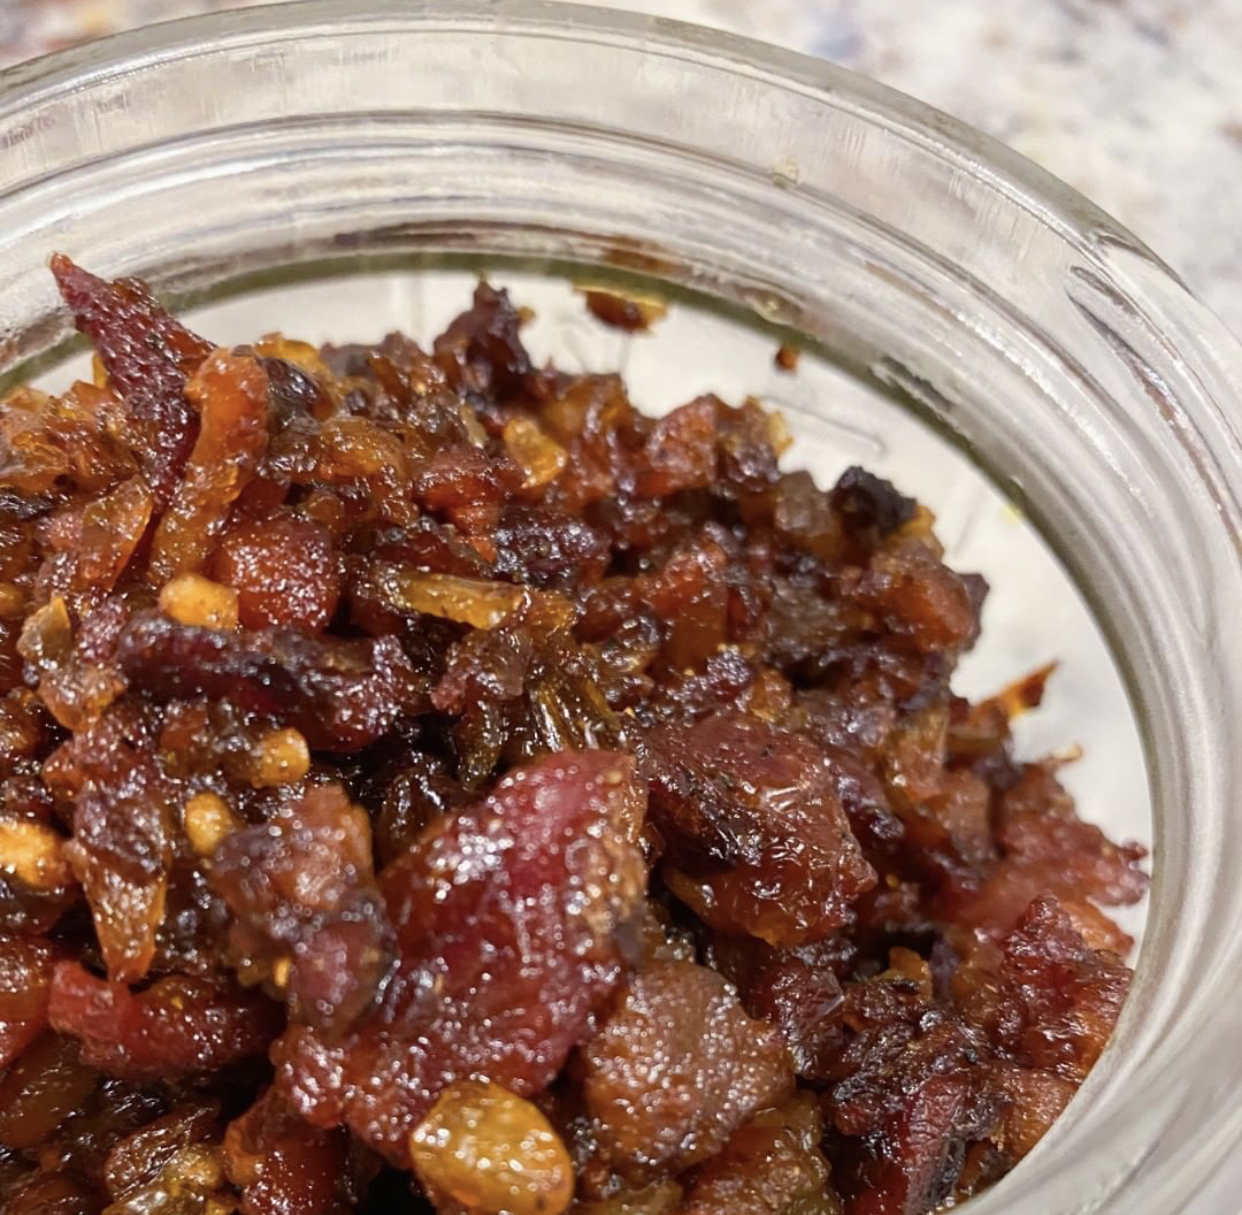
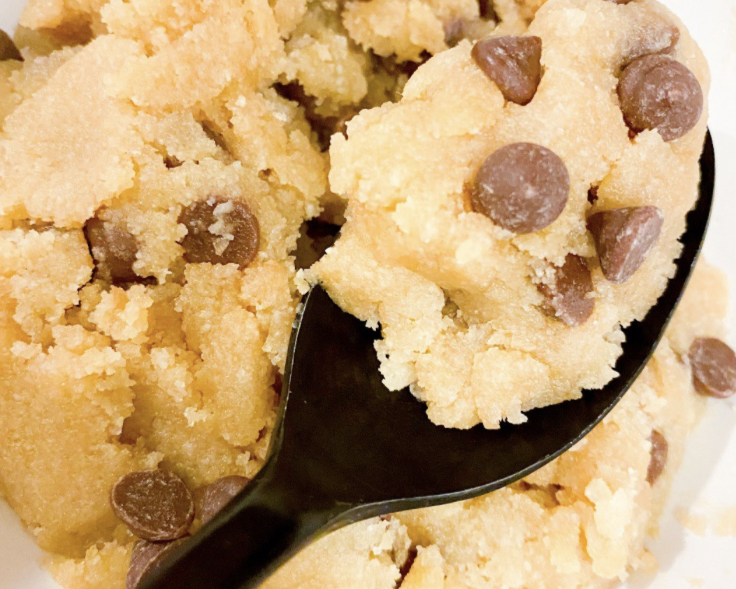
Edible Raw Keto Chocolate Chip Cookie Dough
One time, I paid $15 for a tiny jar of keto cookie dough…NEVER AGAIN!
This recipe is perfect for when you’re craving some cookies but don’t have time to wait for them to bake. It’s very customizable once you make the base so if you don’t have chocolate chips, sprinkle a mix of cinnamon/sweetener for some edible snickerdoodle dough.
Servings: 2
Net Carbs: 4g
Ingredients
- 2 Tbsp Salted butter Melted
- 2 Tbsp Swerve brown sugar
- 1/2 Tsp Vanilla extract
- 1/2 Cup Almond flour
- sugar free chocolate chips
Instructions
- Mix the melted butter with vanilla and brown sugar sweetener. Stir until most of the sweetner is dissolved in the butter.
- Add the flour and sugar free chocolate chips to the butter and mix thoroughly.
Nutrition
Calories: 264kcal | Carbohydrates: 7g | Protein: 6g | Fat: 25g | Sodium: 102mg | Fiber: 3g | Sugar: 1g | Net Carbs: 4g
We only share products/services that we love. This post contains affiliate links, which means we may receive a commission for purchases made through our links.
Tried this recipe?Please leave a review below and tag us @TheKetodashians on IG!